The Ultimate Pumpkin Painting Party Guide for Girls Night In
This post is all about how to throw the best pumpkin painting party for your girls night in.
Let’s be real: Halloween is one of the best holidays of the year.
If you’ve been dreaming of cozy fall vibes, hot cider, and a Pinterest-worthy night in with your besties, then girl, this is your sign. I’m obsessed with pumpkin painting parties — they’re the ultimate girls night in. Less mess than carving (hello, no slimy pumpkin guts!) and way more stylish.
Whether you’re hosting your first fall soirée or you’re the reigning queen of themed nights, this guide is everything you need to pull off a magical evening that your friends will talk about until next Halloween. Okay let’s delve in!
Affiliate Disclosure: This post contains affiliate links. That means if you buy something through one of these links, I may earn a small commission — at no extra cost to you. I only recommend things I love and use myself!
The Ultimate Pumpkin Painting Party Guide
Step 1: Pick a Date and Send the Cutest Invites
Okay, let’s not overthink it. Pick a Friday or Saturday night and give your girls at least a week’s notice. I love these cute invites from Etsy, or if you want to design one yourself, Canva is your best friend. They have so many cute templates you can edit and even print!
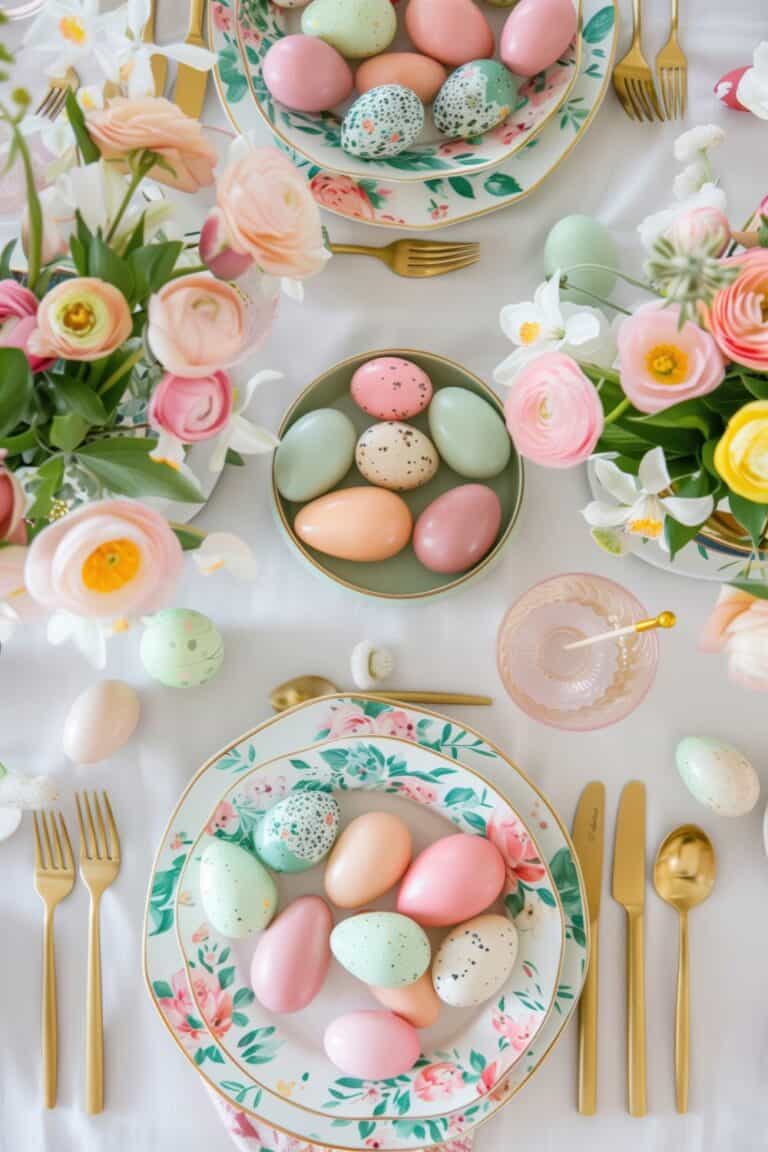
Step 2: Set the Vibe 🍁

I’m obsessed with cozy, candle-lit vibes — and setting the mood is everything. Some cute decor and lighting can really set the mood for the evening.
Here’s what you need:
- String lights or fairy lights – I recommend these twinkle lights from Amazon. They add instant magic.
- Pumpkin-scented candles – Yankee Candles is one of my faves, I love their Spiced Pumpkin Candle – and its cheapest on Amazon at the moment!
- Throw blankets + pillows – Scatter them around so your girls feel at home. Check your local dollar store for budget-friendly cozy finds!
- Gold accents everywhere – I’m thinking gold placemats, gold rimmed glasses, gold candle holders. GOLD, GOLD, GOLD.
Bonus tip: Play a fall-inspired playlist on Spotify. I love ‘autumn’ and ‘comfy autumn playlist’.
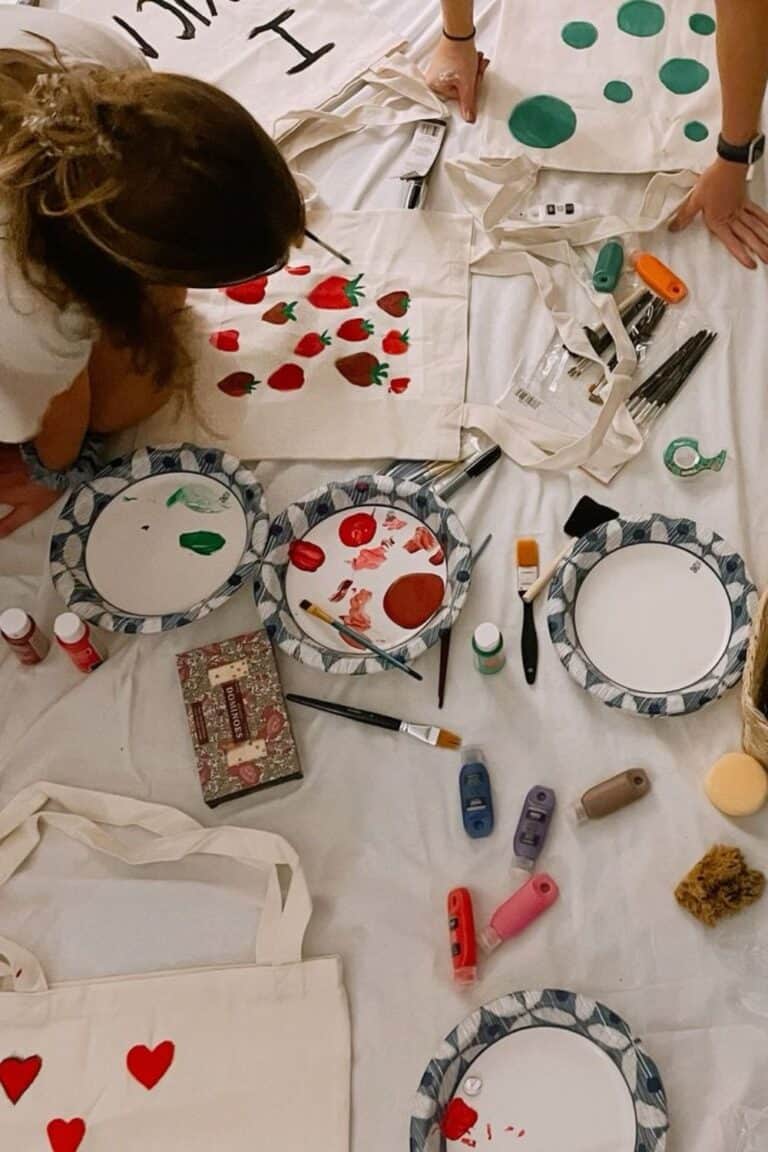
Step 3: What You Need for Painting Pumpkins (Let’s Get Crafty!)

Okay, this is where the magic really happens — the pumpkin painting part!
I love this step because it’s where your friends get to unleash their inner artist. The best part? You don’t need to be a pro to have fun or create something super cute. And painting is so much easier and less messy than carving (plus it won’t leave your house smelling like raw pumpkin. Ew).
Here’s your fully-loaded, no-stress checklist to make sure you have everything covered.
🎨 Paints & Brushes
You’ll need:
- Acrylic paints – These are the best for pumpkins. They dry quickly, are super pigmented, and don’t flake off. I recommend this acrylic paint set from Amazon — it’s got all the classic fall shades like burnt orange, deep burgundy, gold, and forest green. Its super easy to use and comes with brushes too.
- Metallic paint pens or Sharpies – For those who aren’t into brushes. These are great for drawing details or hand lettering cute phrases like “happy halloween” or “boo!” I love this set of 20 metallic paint pens from Amazon.
- Brushes in all sizes – Trust me, you want variety. Thick ones for painting the base color and fine-tipped ones for details like spiderwebs or polka dots. I love this assorted brush pack.
- Paint palettes or paper plates – To mix and match custom colors. Even old jar lids work in a pinch!
🧽 Prep & Protection (a.k.a. Saving Your Table)
Before the paint even comes out, you’ll want to prep your space. This step will save you from a lot of stress later.
Must-haves:
- Plastic tablecloth – Grab a disposable one from Amazon. I love these cute Halloween print ones, fits the theme perfectly.
- Paper towel – I cannot say this enough. You’ll use it for:
- Wiping brushes
- Cleaning spills
- Drying hands
- Fixing little mistakes
Keep an entire roll at each end of the table!
- Aprons or old t-shirts – Not necessary, but a fun add-on if you want to go the extra mile. I love these cute Pumpkin Aprons from Amazon.
🎃 Let’s Talk Pumpkins
The star of the show! I recommend everyone bring their own pumpkins, but you can always grab a few extras (especially mini ones) just in case someone forgets or wants to paint more than one.
Tips for choosing pumpkins:
- Look for smooth surfaces — easier to paint and detail.
- Go for white pumpkins if you want bright colors to pop (neons, pastels, gold… they look stunning on white).
- Don’t go too big — a medium-sized pumpkin is perfect for tabletop painting. Plus, big ones take longer to dry and need more paint.
Pro tip: Wipe down each pumpkin with a damp paper towel before painting. It removes dirt and oils so the paint sticks better.
✨ Add-Ons for the Extra Creative
Want to go from fun to fabulous? Offer a few bonus craft items:
- Glitter and Mod Podge – For sparkly glam pumpkins. Paint a layer of Mod Podge, sprinkle glitter, and boom: instant glam.
- Painter’s tape – Great for creating crisp lines and geometric patterns. You can tape off stripes or shapes before painting. I recommend this painters tape from Amazon.
- Stencils – Grab this cute halloween stencils kit from Amazon – so many fun designs. Great for anyone who’s not super confident free-handing designs.
- Gems, rhinestones, googly eyes, and faux flowers – A hot glue gun will be your BFF here. (Just make sure you have a power strip nearby if you’re using multiple glue guns.)
Here’s one of my favorite combos: matte black paint + gold gems = classy goth pumpkin vibes.
🧼 Clean-Up Supplies
You don’t want to be scrambling later, so prep these in advance:
- Extra paper towel (yes, again — you’ll always need more than you think!)
- A couple of plastic bins or tubs filled with warm water for washing brushes
- A mini trash can or paper bag for used towels, wipes, and empty paint containers
- Drying station – Use a cardboard box lid or baking sheet lined with parchment paper so your girls can safely place their pumpkins to dry. Bonus: label them with cute tags or post-its if you’re all painting similar designs.
🧡 Pro Tips from My Own Parties
Here are some things I’ve learned from my own pumpkin painting party.
- Start with a base coat. If your pumpkin is dark or super textured, do one coat of white or chalk paint first so your designs pop.
- Give inspo – I always print out a few pumpkin painting ideas (Pinterest is your best friend). It helps get the creativity flowing!
- Let them dry between layers. Use this time to chat, snack, or do a quick photo booth session
Step 4: The Snack Situation
Let’s be honest. The snacks are just as important as the crafts.
Here’s what I always serve at my pumpkin painting parties:
- Apple cider (hot or cold) – Serve with cinnamon sticks for ✨aesthetic✨.
- Pumpkin-shaped sugar cookies – Bake ahead or buy premade and decorate together! I love these Halloween cookie cutters from Amazon.
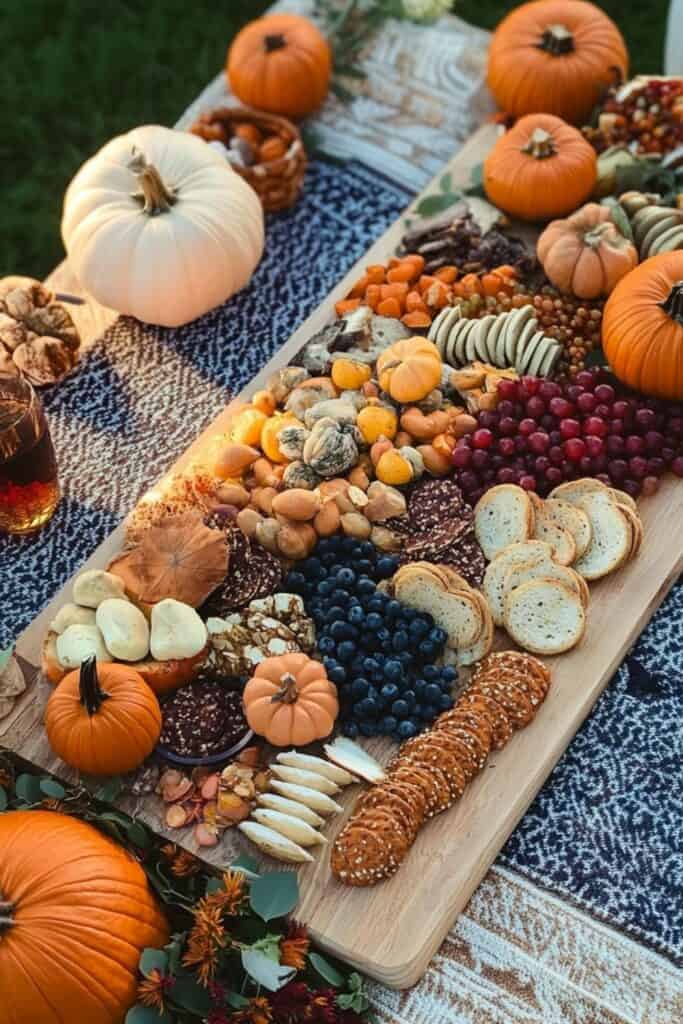
- Savory grazing board – Cheese, crackers, nuts, grapes, and maybe a few Halloween gummies for fun. Get some great inspo from Pinterest for this!
I’m also obsessed with these reusable pumpkin wine tumblers — perfect for wine, cider, or cocktails!
Need a signature drink?
Try this simple fall cocktail:
- Apple cider
- Cinnamon whiskey
- A splash of ginger beer
Serve over ice with an apple slice on top. Chef’s kiss.
Step 5: Add Some Festive Fun
Yes, painting is the main event. But you can sprinkle in a few surprises to keep things lively.
Here are my faves:
1. Photo Booth Corner
Set up a wall with a cheap Halloween backdrop (Amazon has tons!) and props like witch hats, glasses, and boas. Everyone will want pics with their pumpkins!
2. Pumpkin Painting Contest
Give out tiny prizes from the dollar store — think bath bombs, mini candles, or Halloween socks. Have categories like:
- Most Glam
- Spookiest
- Best Message (“Happy Halloween” painted in gold is always a winner!)
3. Fall Movie in the Background
I like to put on something cozy like Hocus Pocus or Practical Magic on mute. The ambiance? Immaculate.
Step 6: Send Them Home Happy
Before they go, surprise your girls with a little takeaway.
Here are some cute ideas:
- Mini halloween themed candles. I’m obsessed with these super cute ghost shaped ones from Amazon.
- Halloween scrunchie or sticker pack
- A printed photo from the night (if you’re using an instant camera — I’m in love with my Fujifilm Instax from Amazon)
Or keep it simple and just send them off with their adorable creations, full hearts, and paint-splattered memories. 💕
A Few Extra Tips I Swear By
- Don’t go overboard. A few well-chosen decorations and good vibes go a long way.
- Don’t forget to paint one yourself! I used to get so caught up hosting that I’d forget — now I make time to sit down and create.
- Buy extras. Extra paintbrushes, napkins, cups. Someone always forgets something!
You Got This 🎨🎃
Hosting a pumpkin painting party isn’t about being perfect — it’s about creating joy, laughter, and a space where everyone feels welcome. So light those candles, hit play on that fall playlist, and bring on the paint!
Whether you’re painting pumpkins with gold leaf, glitter, or goofy faces, this night is yours to make it magical.
Happy Halloween, my friend — now go plan the cutest girls night in ever. 🧡
This post was all about how to throw the best pumpkin painting party for your girls night in.
Other Articles You May Like:
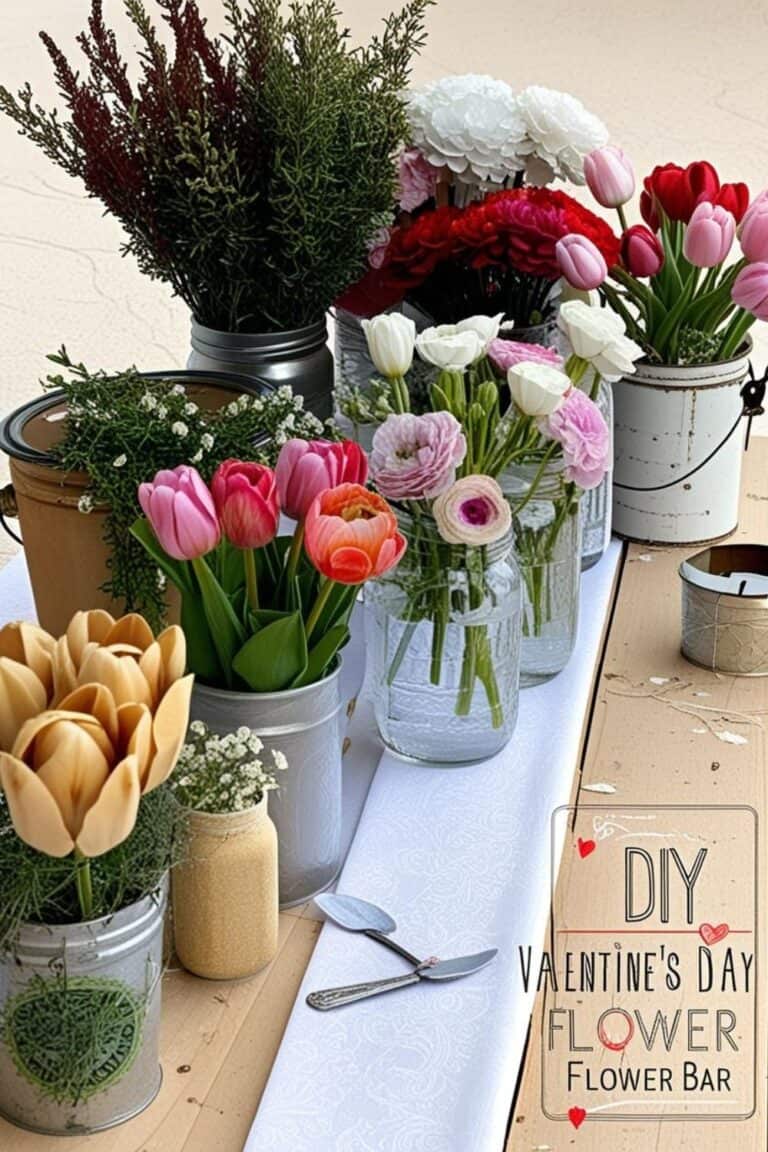
- How to create a Beautiful DIY Flower Bar on a Budget
- The Ultimate DIY Floating Flower Wall Hack – Gorgeous Results in Hours!