How to Create a DIY Wedding Photo booth in 7 Easy Steps
This post is all about how to create a DIY Wedding Photo booth in 7 easy steps!
I don’t know about you, but I’m love a photo booths at weddings. They’re always the best part of the reception! And let me tell you, there’s nothing more fun than seeing your best friends in silly hats, laughing uncontrollably in front of a glittery backdrop. Whether you’re planning a glamorous ballroom affair or a backyard boho bash, creating your own DIY wedding photo booth is the perfect way to add a personal touch and capture all those candid moments.
Let’s be real—hiring a professional photo booth can get pricey. You’re usually looking at anywhere from £300 to £700, depending on how fancy you go. Sure, that includes someone running the booth, unlimited prints, a prop box full of wigs and wacky glasses, plus digital copies and maybe a cute guest book or USB stick to take home. Sounds fab, right?
But if that price tag makes you wince a little (same), don’t worry—you’ve got options. There are tons of quirky hire choices out there too—like retro magic mirrors, old-school open-air setups, even converted VW vans and vintage horse boxes. They’re cool, no doubt. But they’re not for everyone… or every budget.
The good news? You can totally DIY it—and I’m going to walk you through the entire process. This step-by-step guide will help you create an interactive experience that your wedding guests will rave about for years.
Ready? Let’s do this.
This post may contain paid and/or affiliate links. I make a small commission at no extra cost to you.
1. Pick the Space
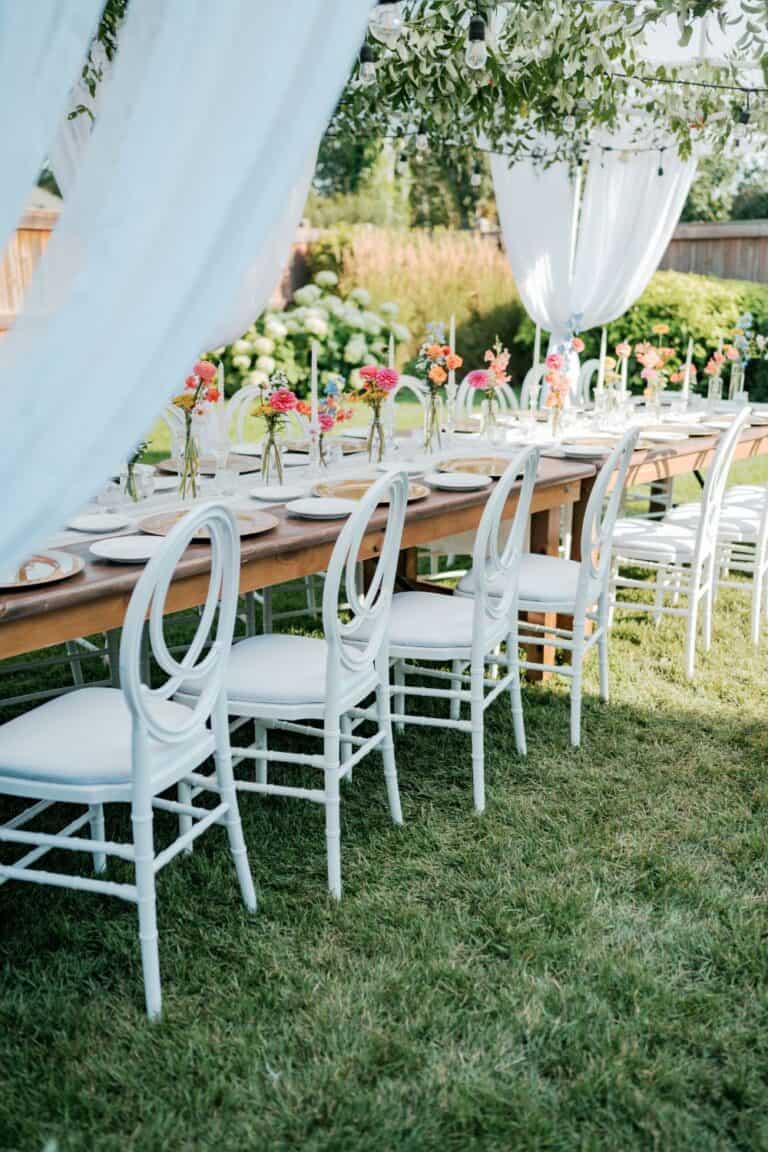
First things first:you need to choose the perfect location for the DIY wedding photo booth. Look for a spot with natural lighting if your wedding is during the day—trust me, it makes all the difference in your wedding photos. If it’s an evening event, make sure you’ve got space for lighting (we’ll get to that soon).
You don’t need much space, either. A small room or even a corner near the dance floor can totally work. Just make sure it’s easy to find (a cute sign helps!), and it’s not blocking guest flow.I also think it’s a good idea to place your photo booth near the dance floor. You want people to enjoy the photo booth but you also don’t want an empty dance floor if the photo booth is on the other side of the room.
I set up my wedding photobooth outside with the Ibithan sea as the backdrop. It was stunning. The lighting was dreamy, and the guests were obsessed
2. Pick the Backdrop
Now for the fun part—creating your beautiful backdrop.
This is where you can really bring your wedding theme to life. I recommend choosing something that matches your vibe and venue.
To help get your creative juices flowing, I’ve rounded up some of the most fun DIY photo booth ideas to match different wedding themes and styles. These backdrops don’t have to be complicated or expensive—they just need a little creativity and a few thoughtful details.
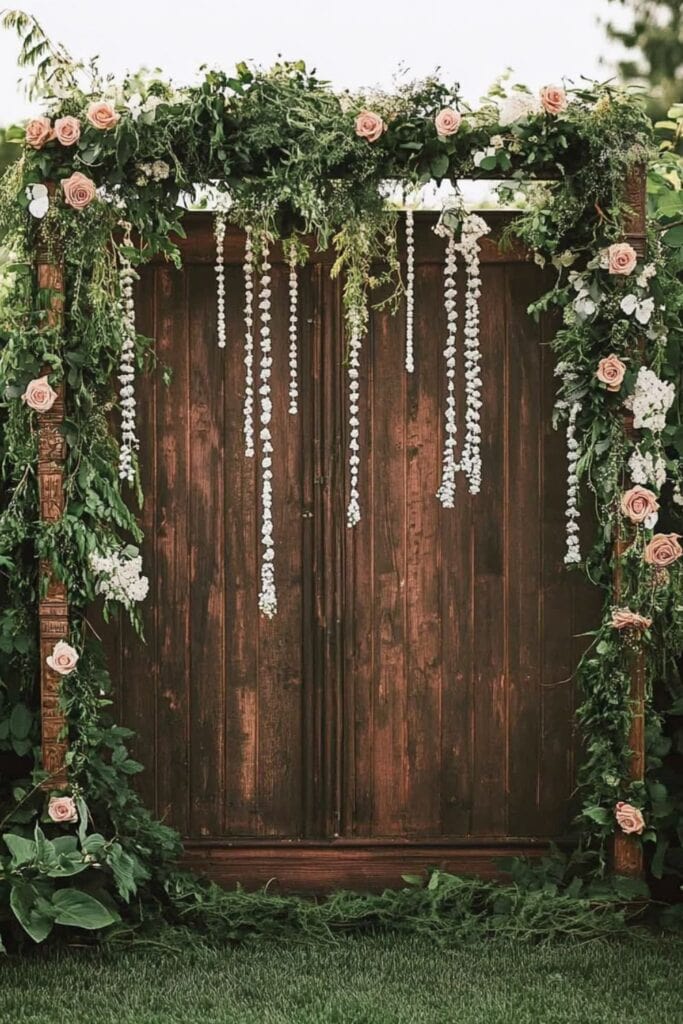
Vintage
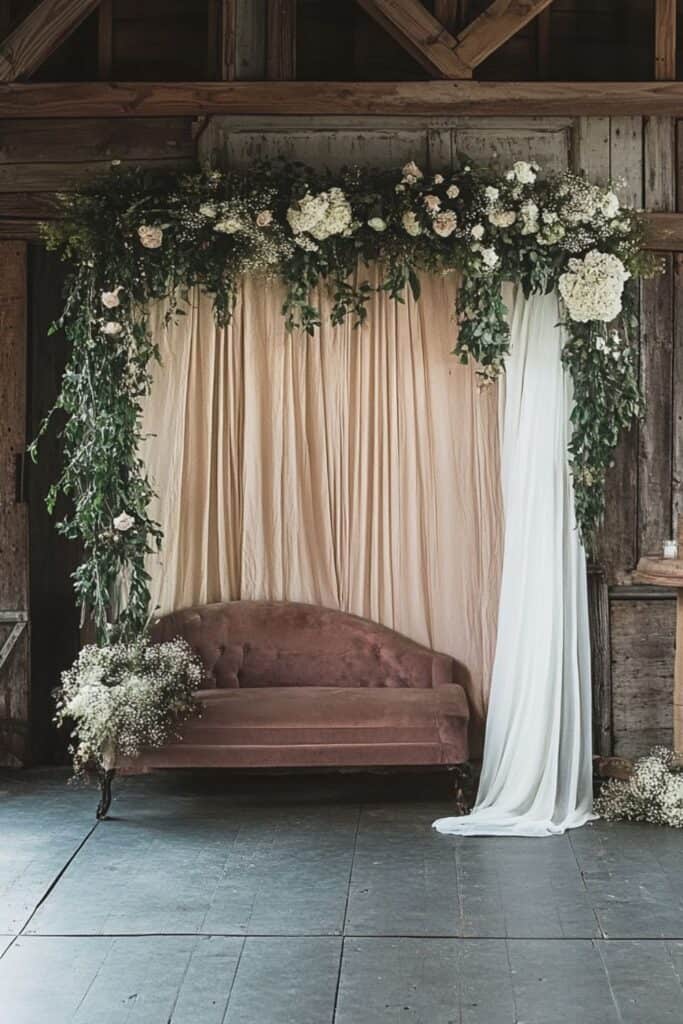
Channel timeless charm with lace curtains, mismatched antique picture frames, or even weathered old doors as a backdrop. Add a vintage loveseat or suitcase for extra flair, and you’ve got a setup that feels straight out of an old movie.
Floral Backdrop
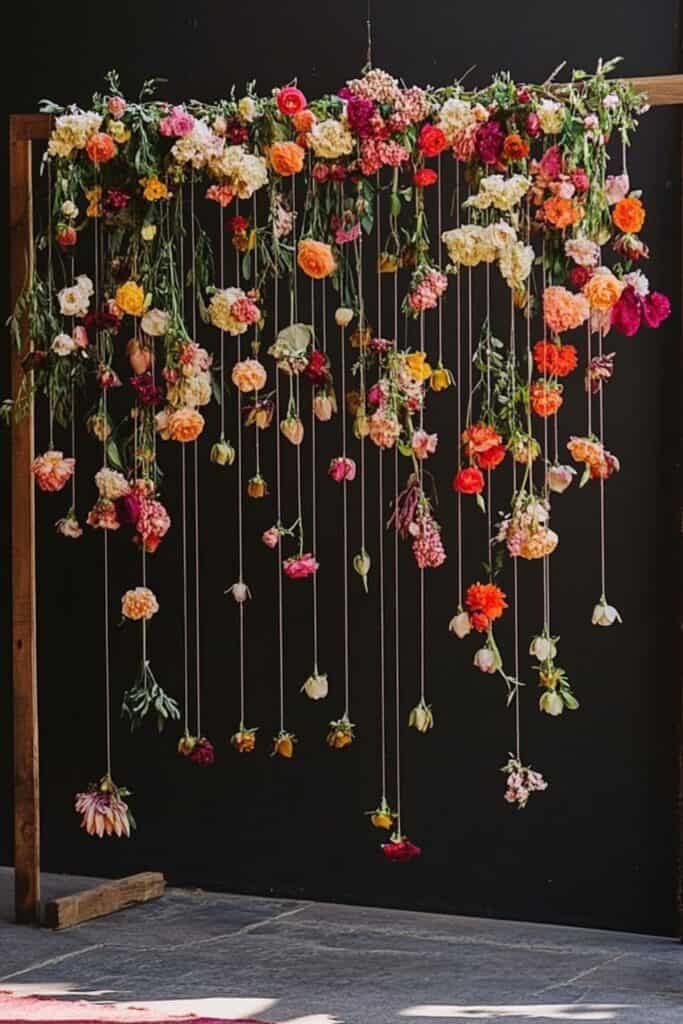
Perfect for a garden wedding vibe, set up hanging floral garland using a variety of fake flowers and twine. I love this idea so much, I’ve even created a whole blog post on how to create your own hanging floral backdrop.
The Ultimate DIY Floating Flower Wall Hack – Gorgeous Results in Hours!
Disco

Want to get groovy? Go all in with a gorgeous glitter wall, glittery disco balls, and metallic balloons. Top it off with a playful neon sign (think: “Let’s Dance” or “Good Vibes Only”) and you’ve got a retro-chic setup that guests will love posing in front of.
Polaroid Frame Wall
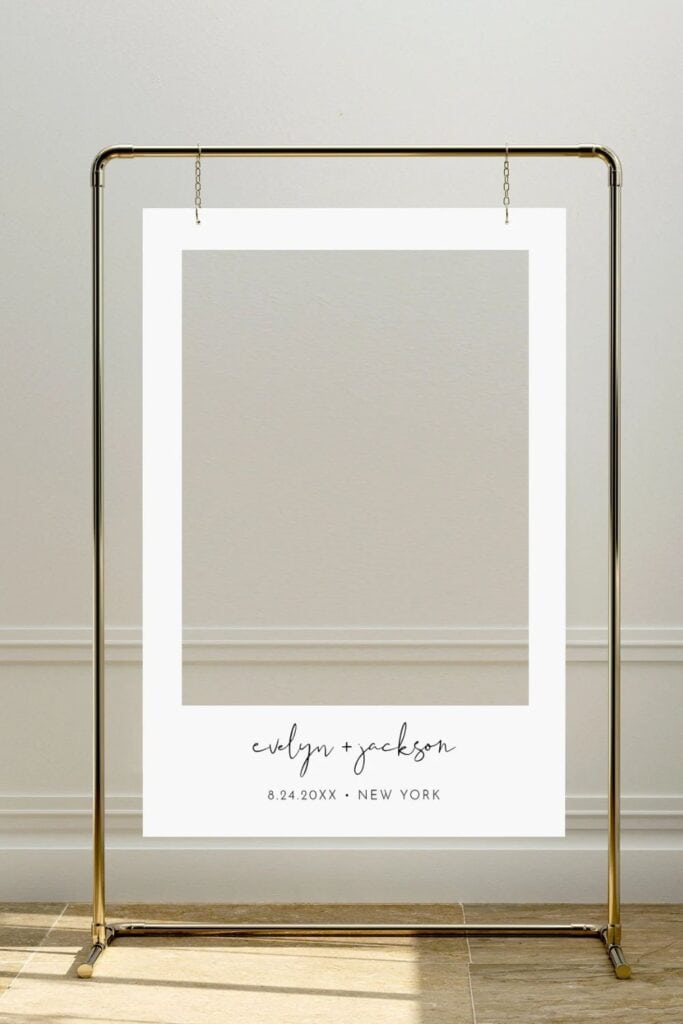
Oversized Polaroid-style cutouts with space for guests to stand behind are both fun and functional. You can personalize them with your names and wedding date, or even leave space for guests to write little messages. I love these cut out designs by Minty Paperie Shop on Etsy. Super easy to customize and loved by many!!
3. Pick the Camera
Alright, let’s get into the gear—don’t worry, this isn’t going to get super techy. You really don’t need a studio setup to get amazing wedding shots. The beauty of a DIY wedding photo booth is that you can make it as simple or as high-tech as you like. Here are your best bets:
Instax Camera
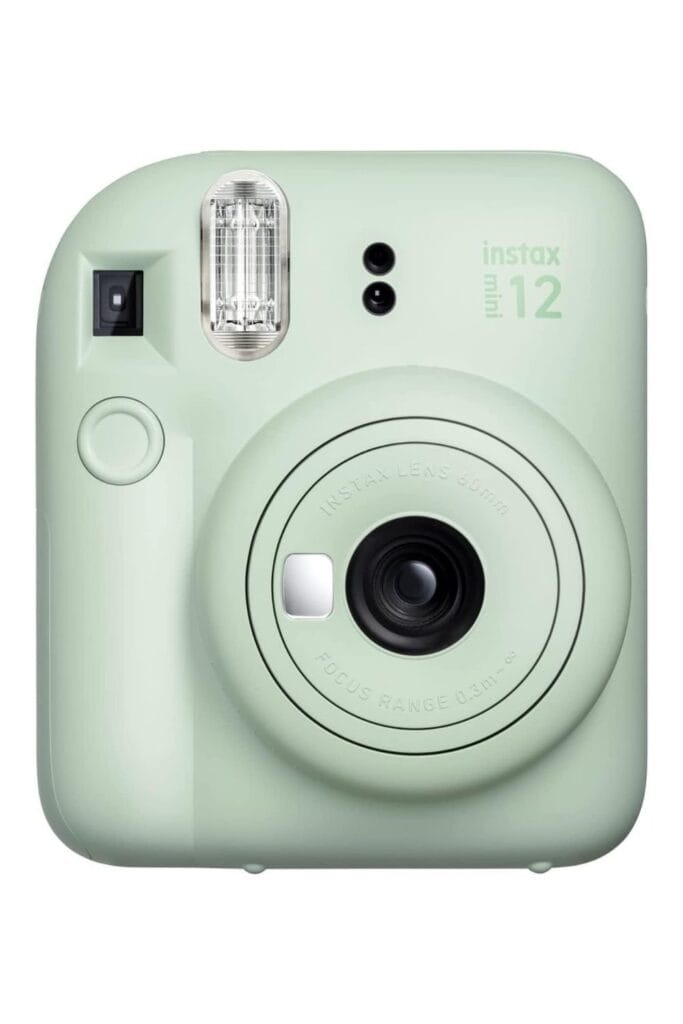
This is my go to option. These little instant cameras are such a vibe. They’re perfect for guests to snap a pic and have it printed immediately. Plus, who doesn’t love the old-school Polaroid look? The only catch? You’ll need to have plenty of film on hand—and I mean plenty.
You can buy these Instax Cameras on Amazon in a range of super cute colors! And don’t forget to order a bunch of polaroid paper. I recommend these Fujifilm Instax Mini Instant Film packs from Amazon. They are trustworthy, great quality and aren’t too spenny!
iPad + Photo Booth App
This is such a simple option that anyone can do! Using amazing photo booth apps like LumaBooth or Simple Booth turn your iPad into a sleek, touch-friendly photo booth. You can set up filters, add your wedding date/logo, and even let guests send their pics straight to themselves via email or text.
Bonus? Some apps let you create a digital album in real-time—so fun for reliving the day. P.s. Even if you don’t have an ipad, an iphone camera can still work just as good (just the screen is a little smaller).
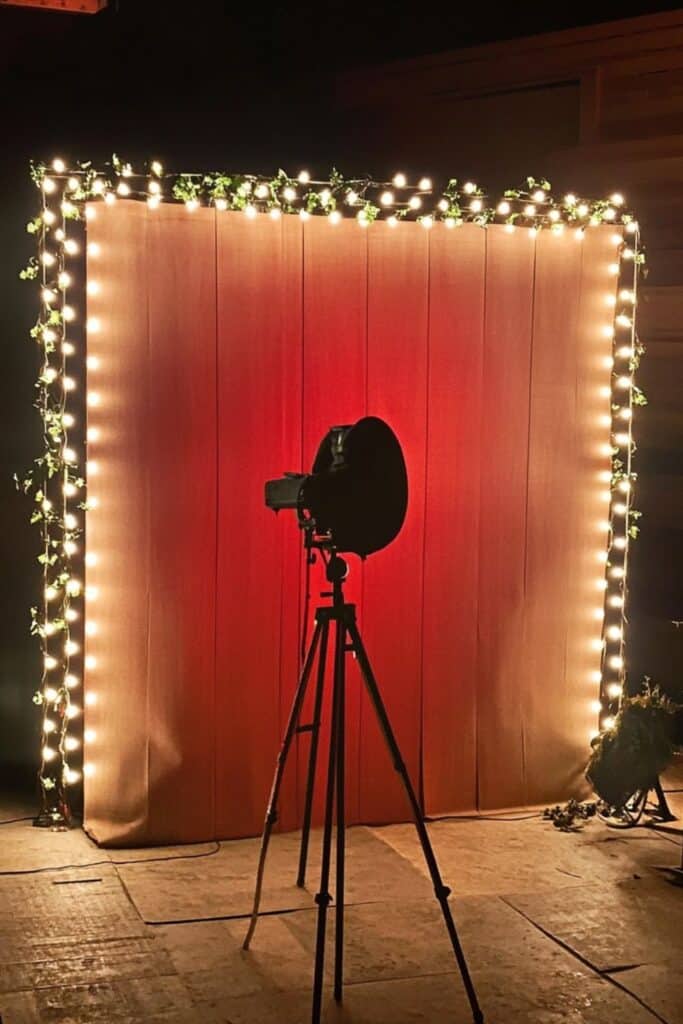
DSLR Camera
Got a friend who’s into photography or a camera-savvy relative? Ask to borrow a DSLR and set it on a tripod with a remote. The image quality will be the best of the best, and if you connect it to a laptop, you can even preview the shots instantly. It’s a little more of a technical setup, but totally worth it if you want frame-worthy prints.
If you’re looking to invest in a DSLR camera, I highly recommend this Canon EOS Rebel T7 DSLR Camera from Amazon. It’s perfect for beginners, durable and with over … five star reviews I can’t be the only one who loves it.
Don’t forget a tripod to keep your camera steady and a Bluetooth remote or clicker. You want the experience to be hands-free and easy for guests to use without needing someone to stand there and play tech support all night.
I use this tripod from Amazon on a daily basis. It’s so easy to use and transport, and it comes with a handy clicker for taking all your photos.
4. Lighting
Lighting is one of those things people often forget—until they look back at dark, blurry photos and wish they hadn’t.
So let’s fix that! Here’s how to shine a light (literally) on your setup:
Ring Lights
You’ve probably seen these in makeup tutorials or TikToks, and there’s a reason why—they’re flattering and easy to use. I highly recommend a right light, especially if you’re using an iPad. Look for one with adjustable brightness and warmth. This UBeesize Selfie Ring Light on Amazon, is my go to. It’s easy to use, has a range of light settings and its easily transportable.
Flat Panel Lights
These are a little more pro-level but still easy to manage. But flat panel lights will give you such good lighting. You can mount them on stands and adjust the direction to perfectly light up your booth without creating harsh shadows. They’re a great option for evening weddings or dim venues. I recommend these flat panel lights from Amazon – they very well reviewed and have a simple set up.
Fairy Lights & Strings of Lights
Not only do they look dreamy, but they actually give off a soft glow that works surprisingly well in photos. You can wrap fairy lights around your backdrop, weave them through greenery, or hang them overhead to create that romantic twinkle.
Pro tip: Make sure you consider the electrical sockets at your wedding venue. If you’re using lights that need to be plugged in, you’ll need to make sure you’re close to an electricity port. I’d recommend getting an extension lead to ensure you can set it up wherever.
5. Choose the Props
Ah yes, would a photo booth be complete without photobooth props? You can buy them, or better yet—make DIY props to match your theme. Here are a few fun ways to spice up your prop table:
Mini chalkboards
Mini chalkboards are always a hit. Guests can write their own silly phrases or inside jokes, making each photo personal and hilarious. Just set out a few with markers and let their creativity do the rest. I love these mini chalkboards from Amazon. These come with stands and are the perfect size for hand-held fun.
Accessories
Oversized glasses, feather boas, hats, and wigs are classic for a reason. They’re colorful, playful, and bring instant fun to any photo. Think bold, silly, and unexpected—because the weirder, the better.
Printed Props
Printed signs with hashtags or inside jokes add a personal touch. Custom signs like “#BestDayEver” or your wedding hashtag. make your booth feel tailored to your event—and perfect for sharing on social media.
With the right mix of store-bought, DIY, and maybe a few random thrift finds, your photo booth will be a total hit—and full of personality.
6. How to Print the Photos
Alright, so you’ve set up your photobooth, you’re ready to go. Now comes the big question: how do you make sure those fun photo booth memories don’t just disappear into the digital void?
Getting your hands on those sweet, hilarious, and occasionally chaotic shots is easier than you might think—and there are some seriously cool options depending on how techy (or nostalgic) you want to go.
Let’s break it down:
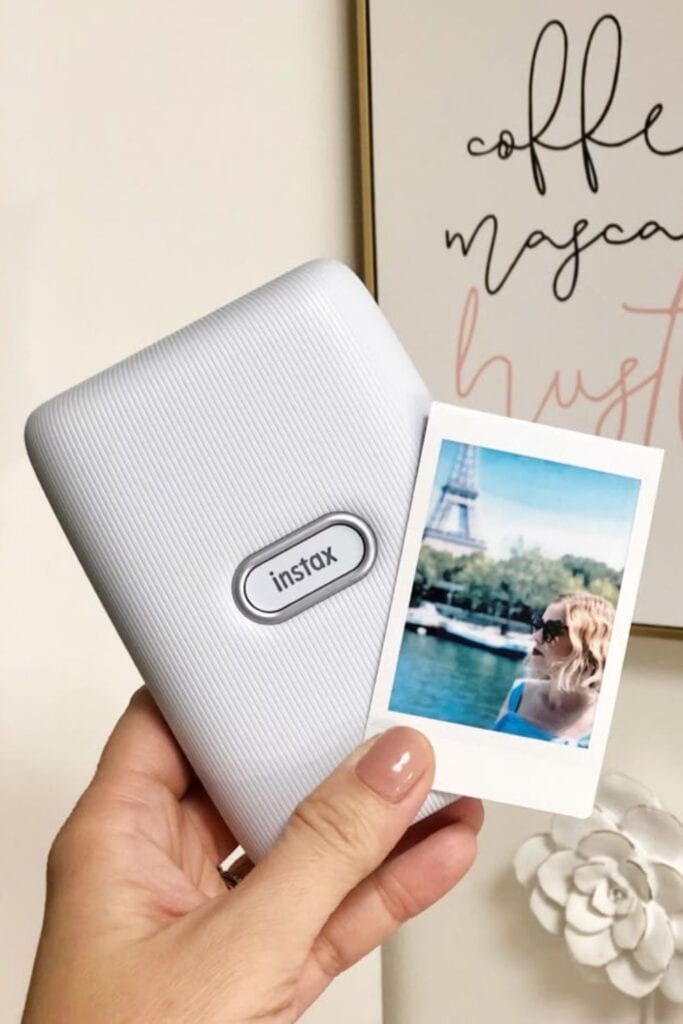
Option 1: Instant Gratification with a Portable Printer
If you’re anything like me, you love a good physical print. There’s just something about holding a photo in your hands—it hits different. Portable printers like the Kodak Step Instant Smartphone Photo Printer are compact, super easy to set up, and print gorgeous mini photos in seconds.
These babies connect to your smartphone, iPad, or camera via Bluetooth, and some even let you add filters, borders, or custom text before printing. Think: “Sarah & Jamie’s Big Day 💍 06.06.25” stamped right on the bottom. So cute.
Plus, the sticker-backed photo paper is perfect for adding snaps to your guest book, sticking on a photo wall, or giving guests a take-home keepsake. It’s a small touch, but it adds a huge personal touch to your overall experience.
Option 2: Go Digital with Email, AirDrop, or QR Codes
If you’re more about convenience and less about running out of printer paper mid-reception (we’ve all been there), go digital.So easy to share with friends or on social media.
Many photo booth apps—like Simple Booth, LumaBooth, or Booth.Events—come with built-in features that let guests:
- Email the photos to themselves
- AirDrop them directly to their iPhones
- Scan a QR code on the screen and download the images instantly
This is the easiest thing ever, especially if your photo booth is running on an iPad. Plus, it saves paper and means guests can share their shots straight to social media—which is a win if you’ve got a wedding hashtag or want to go viral on TikTok (hey, it could happen 👀).
Some apps even let you gather all photos in a shared online gallery, so you can revisit them anytime and relive the magic with a glass of wine (or cake, no judgment).
7. How to Display the Photos
Let’s not let those amazing photo booth pics sit in the cloud, okay? After all the planning and partying, those candid, goofy, and sweet snapshots deserve to be seen, shared, and maybe even cherished forever. Giving your guests a way to display or take home their photos not only adds a fun interactive element—it also makes the memories feel more tangible.
Here are a few creative and crowd-pleasing ways to display your photo booth pics throughout the event (and beyond):
Fairy light photo clips
Fairy light photo clips are a beautiful and simple way to showcase photos in real time. Hang a few strands on a wall, across a table, or even around a doorway, and let guests clip up their prints as they go. It turns your photo booth into part of the decor—and by the end of the night, you’ll have a glowing, ever-changing gallery of memories.
Polaroid Frame
A large frame with Polaroid-style squares makes for an eye-catching centerpiece. Use string, mini clothespins, or pegs to let guests hang their photos as they’re taken. You can even pre-fill a few spots to get it started, and watch the frame fill up as the night unfolds. Add a sign encouraging guests to “Snap & Hang” to guide the fun.
Magnetic Photo Frames
Magnetic photo frames are a clever, practical party favor. Leave out a stack and let guests slide their photo strips inside and take them home. They’ll love having a fridge-friendly keepsake that actually gets used—and it keeps your celebration alive every time they grab a snack.
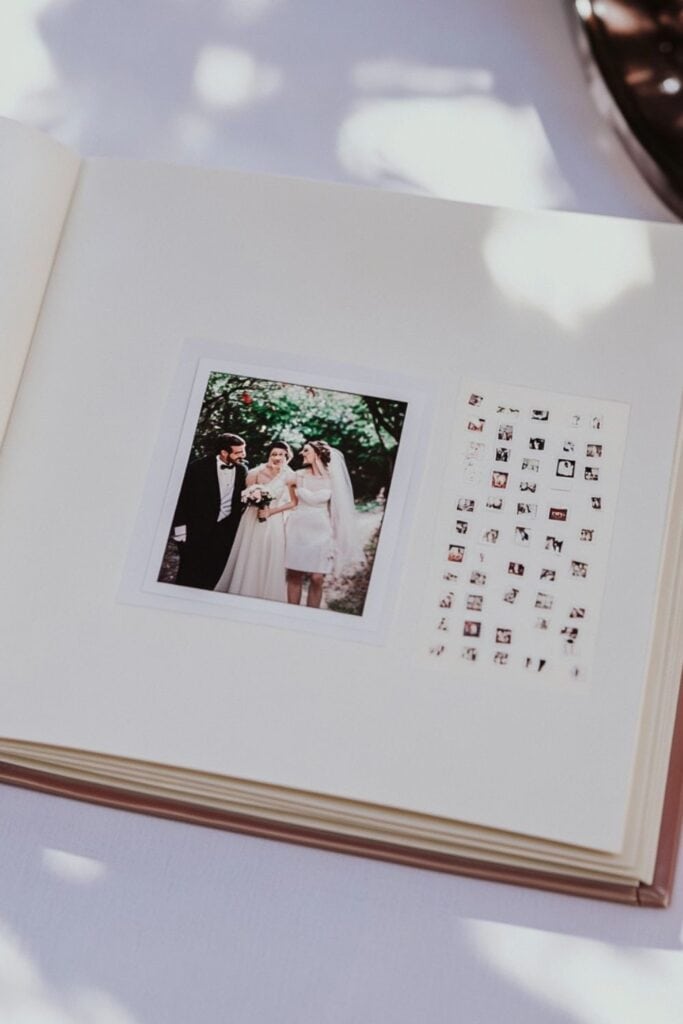
A Photo Album
A photo album or guest book station gives people the chance to leave a personal touch. Invite guests to paste in their photo and write a short message, joke, or piece of advice. It becomes a one-of-a-kind keepsake that you’ll actually want to flip through for years to come.
Don’t forget to set up a small tray or basket nearby with essentials: markers, glue dots or washi tape, and a little card with your wedding hashtag, a QR code, or a link to download digital copies. It’s those tiny touches that make it seamless for guests to participate—and remember to share their pics online.
Finally,
Creating your own DIY wedding photo booth is honestly one of the easiest things you can do to elevate your wedding day. It adds a personal touch, gives your wedding guests something fun to do, and captures all the candid moments you’d otherwise miss.
Plus, it’s a great way to save money, unleash your creativity, and even reuse it for birthday parties, anniversaries, or any celebration down the line.
The overall experience will feel more “you,” and that’s the goal, right?
So grab your glue gun, gather your glitter, and get ready to build something truly special. Your future self—and your photo-filled fridge—will thank you.
Happy DIY-ing!
This post is all about how to create a DIY Wedding Photo booth in 7 easy steps!
Other Articles You May Like:
- The Ultimate DIY Floating Flower Wall Hack – Gorgeous Results in Hours!
- How to create a Beautiful DIY Flower Bar on a Budget
- 20 Fun Wedding Dance Floor Props for an Unforgettable Party