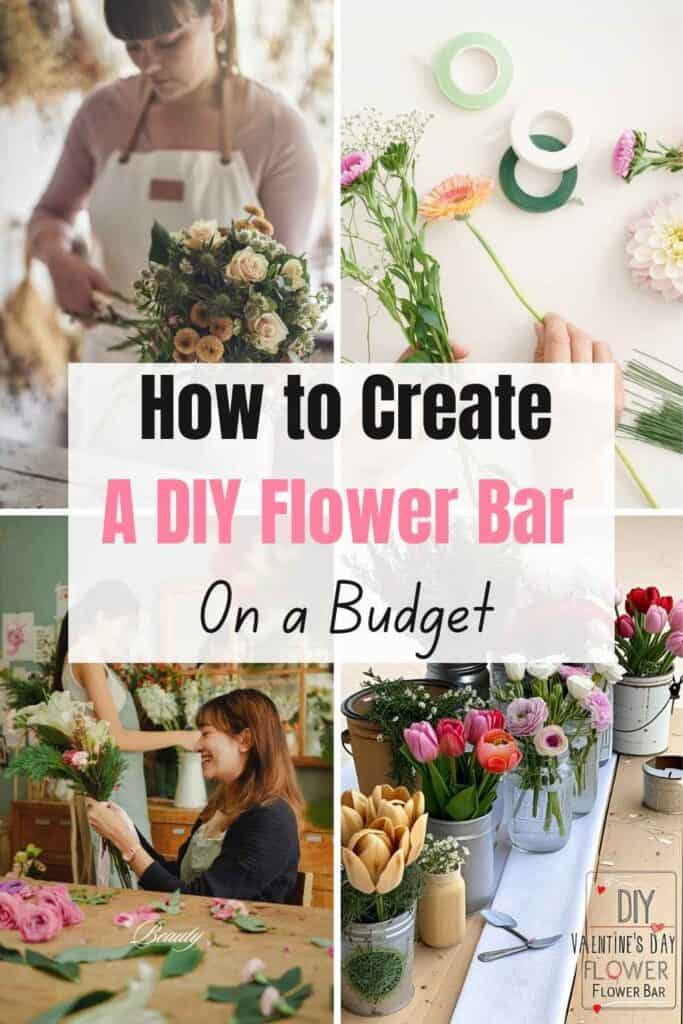
How to create a Beautiful DIY Flower Bar on a Budget
This post is all about how to create a Beautiful DIY Flower Bar
A DIY flower bar is the perfect addition to any party! It gives your guests a fun, hands-on activity they’ll love. Worried about the cost? Don’t be! Creating a stunning flower bar on a budget is not only doable—it’s easier than you think. With a bit of planning, a dash of creativity, and a few clever hacks, you can pull off a gorgeous display that’s easy on your wallet and big on charm. Let me show you how!
Whether for a wedding, bridal shower, birthday party, or just a fun gathering, I’ll walk you through every step to make your flower bar both fabulous and affordable.
Ready to get started? Let’s dive in! ?
This post may contain affiliate links, which means if you decide to purchase via my links, I may earn a small commission at no extra cost to you. However, I will only promote products I believe will be beneficial to my audience.
Supplies You’ll Need
Here’s a detailed list of everything you’ll need to set up your DIY flower bar:
Flowers & Greenery
- Fresh Flowers: Choose 4–6 flowers, such as roses, tulips, daisies, peonies, carnations, or lilies. Choose flowers that match your party theme or the season.
- Filler Greenery: Eucalyptus, ferns, or baby’s breath are great filler flowers to add texture and volume.
Containers
- Vessels for Flowers: Use vases, metal buckets, or IKEA bins.
- Bouquet Containers: Small vases, kraft paper, mason jars, newspaper, or cellophane for take-home bouquets.
Tools
- Floral shears or scissors (sharp enough to cut through stems).
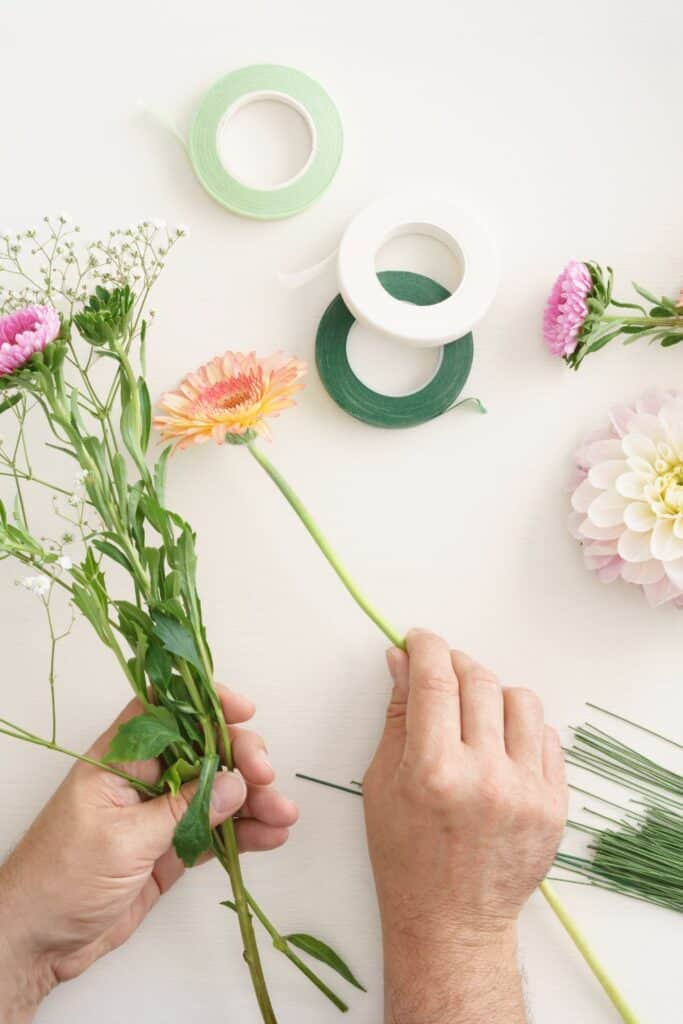
- Twine, string, or floral tape for securing bouquets.
- Ribbon or decorative tape for wrapping.
- A trash bin or container for discarded stems and leaves.
Decor & Signage
- A table runner or cloth to cover the flower bar surface.
- Small chalkboards or printed signs with instructions like:
“Pick Your Blooms!”
“Build Your Bouquet!” - Props like wooden crates, pedestals, or stands to create visual height for your flowers.
Extras
- Spray bottles filled with water to keep flowers fresh during the event.
- Flower food packets for guests to take home.
- Optional embellishments like beads, lace, or dried flowers.
You can easily shop all my recommended Flower Bar essentials on my Amazon Storefront – Click Here.
How to create a Beautiful DIY Flower Bar on a Budget
Here is an easy step by step guide for creating a fabulous flower bar. Here’s how to set it up:
Step 1: Arrange the Workspace
Use a long table, several small ones, or even a bar cart to create an organized, accessible display. Place your flowers in grouped containers, buckets, or vases based on type for easy selection. I like to use these tin buckets from Amazon.
Step 2: Get your Flowers ready
When buying flowers, there are a few great options! Head to your local farmers’ market to support local growers and find fresh, unique blooms. For large quantities of flowers, wholesale flower suppliers offer great prices.
And don’t overlook your grocery store—they’re budget-friendly and often have pre-bundled bouquets ready to go! Trader Joe’s is a great place to start!
Pro tip: Skip using water in the bouquet bar buckets to avoid any mess, slippery floors, or soggy bags for our guests. If you choose this option, keep your flowers hydrated in other large buckets of water that you’ve sterilized beforehand with hot water and bleach.
Then, just do a quick transfer right before the event starts—your flowers will be fine out of water for a few hours.
Step 3: Add Decorations
Here’s where your inner Pinterest board comes alive! To make your flower bar truly Instagram-worthy, get creative with decorations. Use wooden crates, vintage trays, or tiered stands to add dimension and style—because flat tables are just so basic.
Drape some fairy lights or small lanterns around the setup for a dreamy, magical vibe. For an extra splash of inspiration, create a sample bouquet or a show-stopping centerpiece to give guests ideas.
Pro tip: Use what you already have at home—repurposed jars, rustic baskets, or even that old cake stand hiding in the cupboard can work wonders!
Step 4: Provide Instructions
Nobody wants to feel lost in a sea of stems, so make the process fun and foolproof! Set up cute signs with simple instructions like: “Start with greenery, add focal flowers, fill in with smaller blooms, and finish with twine or kraft paper.”
You could also print out some inspo pics from Pinterest, with some ideas of color combinations, color palettes, and design ideas!
Want to go the extra mile? A short demo at the start or printed guides can be a game-changer. It’s like a crafting party, but prettier and with way fewer glue guns! My tip? Keep it light and fun—throw in some puns like “Bouquet your day brighter!” to keep things lively.
Step 5: Keep Flowers Fresh
There’s nothing sadder than droopy daisies, so flower freshness is key! Mist the flowers every now and then—like giving them a mini spa day. I love using this cute mister spray bottle on Amazon. Its practical and also super cute to look at.
Make sure the buckets or vases are filled with clean, cool water throughout the event.
A quick hack? Add a little floral preservative to the water (or a splash of soda in a pinch). This is a great way to keep those blooms looking fab longer. Trust me, happy flowers = happy guests!
Step 6: Create a Photo-Worthy Display
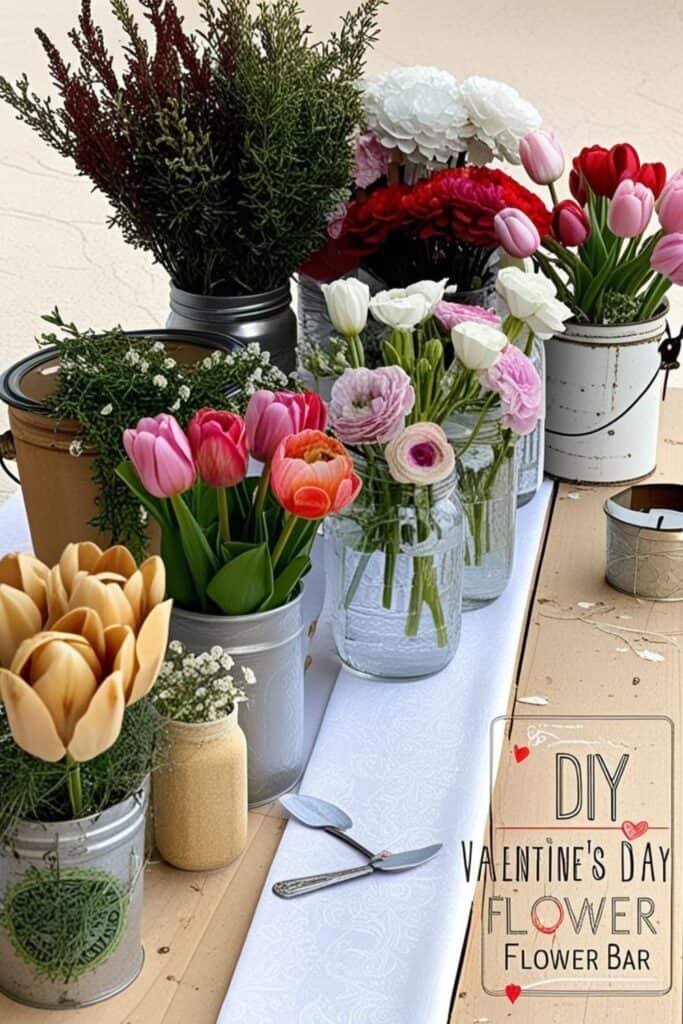
What’s a flower bar without a perfect photo op? Set up a picture-perfect area where guests can flaunt their finished bouquets.
Think floral backdrops, fairy lights, or themed props like vintage candles and pastel parasols. My favorite trick? A chalkboard sign with a hashtag for the event—it’s fun and keeps the memories flowing online!
Temu offer fab chalkboard signs for a bargain! You can grab some here.
Bonus tip: Have a ring light handy for optimal selfies. (We’re all about those glowing shots, right?)
Step 7: Add a Personal Touch
This is where you really win hearts. Provide little tags or stickers for guests to personalize their bouquets—something as simple as “Made with love by [Name]” goes a long way.
Want to up the charm factor? Hand out mini thank-you notes, floral trivia cards, or message tags for people to attach to their arrangements. My favorite idea? A station with gold markers and kraft tags—it’s creative, meaningful, and makes each bouquet feel like a gift.
Tips for Success for your DIY Flower Bar
Cut your Stems
I suggest cutting your individual stems of flowers to the right length ahead of time during setup. That way, you won’t need to trim anything during the event, which means fewer supplies and less mess.
Your guests can simply grab their flowers or assemble their bundles and dive straight into the wrapping. Plus, you won’t have to pause the fun to clean up piles of discarded stems!
Look for Bargains
When buying your flowers, local supermarkets will usually put fresh products on discount towards the end of the evening, to get the stock sold! So if you’re looking for some bargains figure out what time your supermarkets get the discounts out and get yourself some gorgeous flowers for less!
Keep Flowers Fresh
Mist flowers periodically with water to prevent wilting, especially if the event is outdoors. Don’t get your flowers too far in advance either. You want them to still be fresh for your guests to take home and use in their homes for at least a few days after the event.
Add Personal Touches: Incorporate name tags, custom bouquet stickers, or thank-you notes for an extra special experience.
Frequently Asked Questions about Creating Your Own Bouquet Bar
How many flowers should I provide per guest?
Aim for 5–7 stems per person, including a mix of greenery and focal flowers. Adjust based on your budget and number of guests.
How much does a DIY flower bar cost?
Costs vary depending on the type and quantity of flowers. On average, you can expect to spend $5–10 per guest. Sourcing flowers from wholesalers or grocery stores can help reduce costs.
What if some guests don’t know how to arrange flowers?
What I love about this activity is that your guests can have total creative freedom to design beautiful bouquets. o, provide a simple guide or example bouquets for inspiration.
A short demonstration can also help guests feel more confident in creating their arrangements. I love these flower bar instruction cards – they’re simple, and cute and will help your guests create a beautiful bouquet.
How can I keep flowers fresh during the event?
- Use buckets or vases filled with water.
- Mist flowers with a spray bottle.
- Set up the flower bar in a shaded area outdoors.
Can I use artificial flowers instead of real ones?
Absolutely! Faux flowers are reusable, mess-free, and come in a wide range of colors and styles. You also don’t have to worry about seasonal flowers or keeping them alive! They’re a great option for budget-conscious or allergy-prone events.
What’s the best way to wrap bouquets?
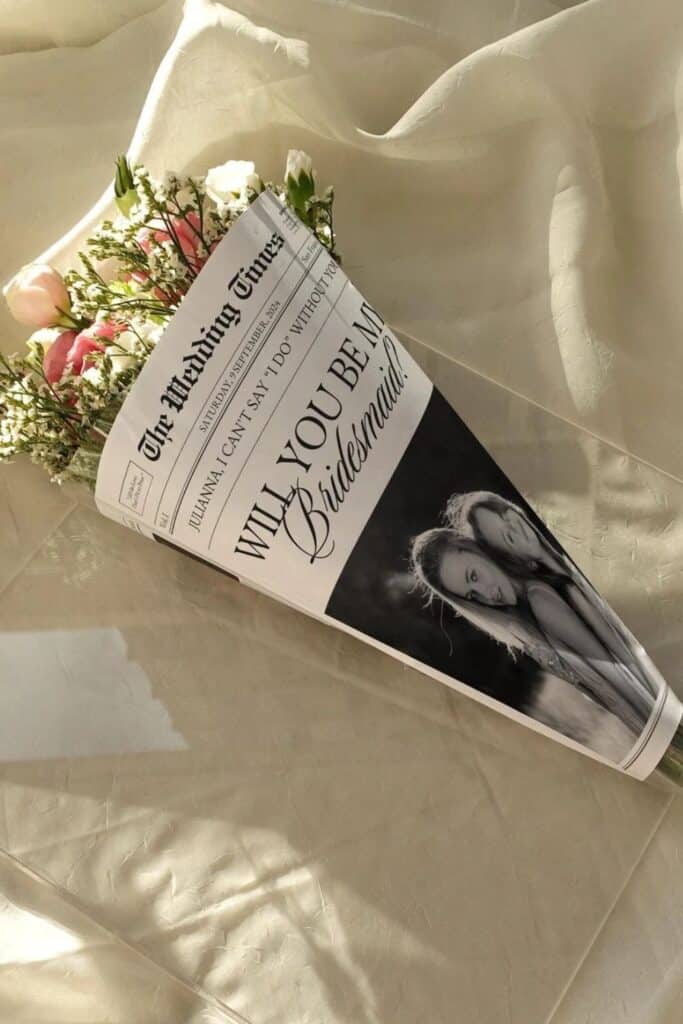
Use kraft paper, tissue paper, or old newspapers to wrap bouquets. Secure the wrap with ribbon or twine, and consider adding a small thank-you note or tag.
Finally
I hope this article helped guide you to craft the perfect day bouquet bar for your special occasion! Whether it’s bridal showers, baby showers, birthday parties, or just a fun get-together, a flower bar is such a fun activity to level up your next event.
Remember, it’s all about the little details—from stunning decorations to personal touches—that make the experience one to remember for your guests. Most importantly, have fun with it!
The beauty of your own bouquet bar is in its flexibility, so feel free to put your own spin on the setup and let your personality shine through. Happy blooming, and here’s to making your event one to remember! You’re going to have so much fun!
Do you have any more questions about creating a DIY flower bar? Let’s chat! Leave them in the comments.
This post was all about how to create a DIY Flower Bar
Other Articles You May Like:
- 20 Stunning Wildflower Bridal Shower Décor Ideas on a Budget
- 20 Wildflower Wedding Decor Theme Ideas you’ll love
- 25 Stunning Outdoor Birthday Tea Party Ideas on a Budget


